How to Replace an Oxygen (Lambda) Sensor: Cost, Signs & DIY Steps: Lambda Sensor Change Guide
A lambda sensor change means removing a failed oxygen sensor from the exhaust system and installing the correct replacement in the same position. For many vehicles, the job can be handled at home with an oxygen sensor socket, safe lifting equipment, and careful attention to the electrical connector and tightening specification. The important part is confirming that the sensor itself is faulty before buying parts, because vacuum leaks, wiring faults, exhaust leaks, and fuel control problems can produce similar symptoms. Replacement cost commonly depends on sensor type, location, access, and local labor rates.

James Mitchell
Senior Automotive Writer
12+ years writing clear, practical guides on vehicle maintenance and emissions systems.
When a Lambda Sensor Change Is Actually Needed
Oxygen sensors measure oxygen in the exhaust so the engine control module can manage fuel delivery and, on vehicles with sensors after the catalytic converter, monitor converter performance. A failed sensor can send inaccurate information, respond too slowly, or stop heating correctly. A lambda sensor change is appropriate when testing points to the sensor or its internal heater, not simply because a trouble code mentions oxygen or fuel mixture.
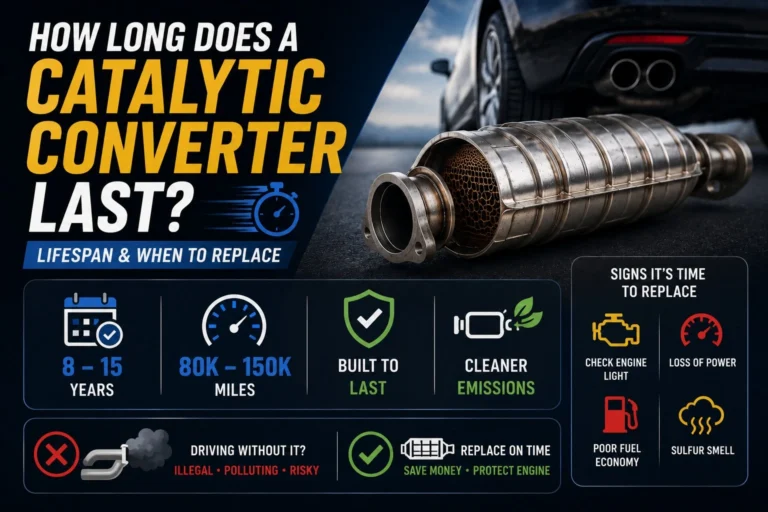
The most common warning is the check engine light. Other clues can include rough idle, hesitation, increased fuel use, failed emissions testing, or diagnostic trouble codes related to oxygen sensor signal or heater performance. These symptoms do not prove the sensor has failed, so diagnosis should come before replacement.
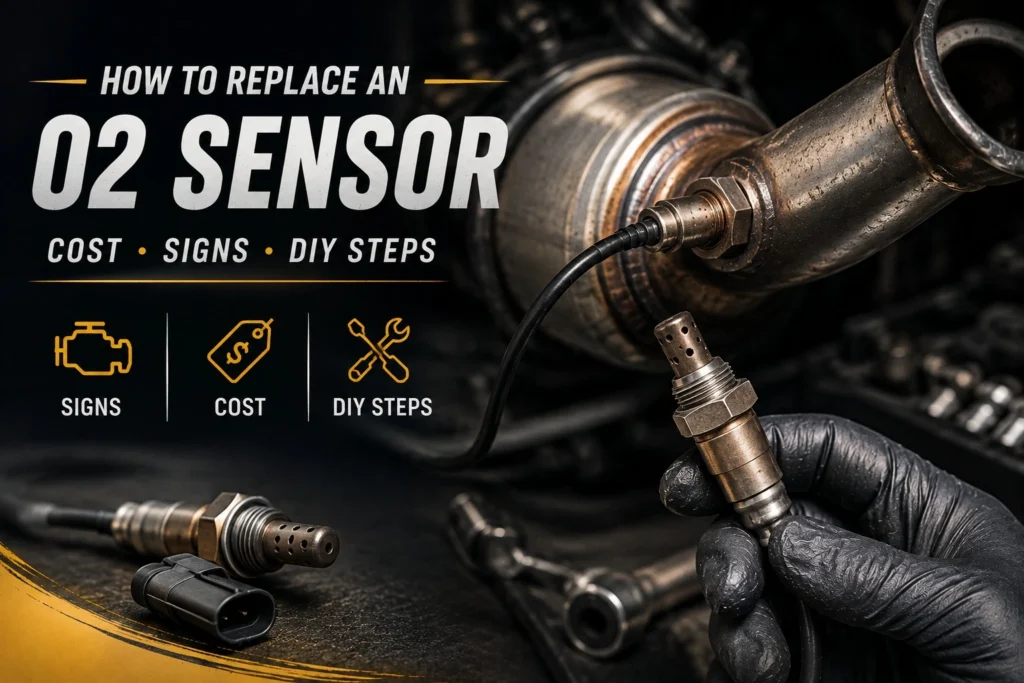
Signs That Point Toward a Failing Oxygen Sensor
A slow or contaminated sensor may react poorly to changing exhaust oxygen levels, while a failed heater can keep the sensor from reaching operating temperature quickly. Upstream sensors have a direct role in fuel control. Downstream sensors are used mainly to monitor catalyst efficiency. That difference matters when symptoms and codes are interpreted.
Confirm the Fault Before Buying a Sensor
Read the stored OBD II codes and freeze frame data, inspect the connector and harness, and check for exhaust leaks near the sensor. Depending on sensor type, a technician may evaluate live scan data, signal response, heater resistance, or circuit power and ground.
| Symptom or finding | What it can indicate | Best next check |
|---|---|---|
| Check engine light with an oxygen sensor code | Sensor, heater circuit, wiring, or mixture problem | Read code details and inspect live data |
| Poor fuel economy | Incorrect fuel correction or another engine issue | Check fuel trims and upstream sensor response |
| Rough idle or stalling | Mixture problem, vacuum leak, misfire, or slow sensor | Inspect intake leaks, ignition, and sensor data |
| Emissions test failure | Sensor response issue or broader emissions fault | Scan for codes and verify exhaust system condition |
| Heater circuit code | Open heater element, power fault, ground fault, or wiring damage | Test circuit power, ground, and heater resistance |
| Catalyst efficiency code | Converter performance issue, exhaust leak, or downstream sensor concern | Compare upstream and downstream data before replacing parts |
Lambda Sensor Change Cost: Parts, Labor, and Access
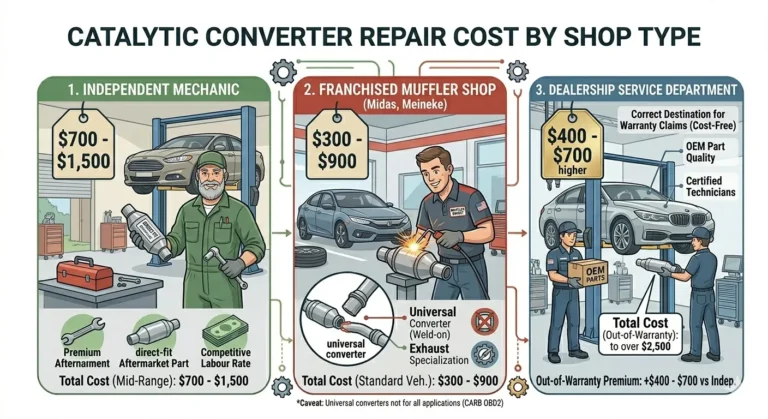
A lambda sensor change can cost relatively little on a vehicle with an easy to reach conventional sensor, or several times more when the vehicle uses an expensive wideband sensor or access is restricted. As a practical planning range, many replacement jobs fall between about $130 and $650 for parts and labor. Some dealer repairs, premium sensors, or seized installations can exceed that range.
Parts price is only one factor. The number of sensors on the vehicle, whether the failed unit is upstream or downstream, connector design, exhaust corrosion, and the amount of disassembly required can change the final bill. Exact pricing should be checked against the vehicle identification number and local labor rate before authorizing work.
Typical Replacement Cost Ranges
The figures below are broad planning ranges rather than quotes. Original equipment style sensors and direct fit aftermarket sensors often cost more than universal units, but the correct connector and calibration matter more than buying the cheapest part.
| Repair situation | Typical parts range | Typical labor range | Approximate total |
|---|---|---|---|
| Conventional direct fit sensor with easy access | $45 to $120 | $80 to $180 | $125 to $300 |
| Premium original equipment style sensor | $90 to $220 | $80 to $200 | $170 to $420 |
| Wideband air fuel ratio sensor | $120 to $300 | $100 to $250 | $220 to $550 |
| Restricted access or heavily corroded sensor | $80 to $250 | $150 to $450 | $230 to $700 |
| Dealer repair with original equipment part | $150 to $350 | $180 to $450 | $330 to $800 |
Why a Seized Sensor Can Raise the Bill
Oxygen sensors live in a severe heat environment. Corrosion and repeated heat cycles can make the threads difficult to release. If the sensor is seized, a technician may need additional time to protect the exhaust bung and surrounding components. Damaged threads can turn a simple replacement into a repair that requires thread restoration or exhaust component work.
What You Need Before You Replace a Lambda Sensor
Before you replace lambda sensor units, identify the exact bank and sensor position shown by the diagnostic information. Bank 1 contains cylinder number 1. Sensor 1 is normally the sensor before the catalytic converter, while Sensor 2 is normally after it. Engine layouts vary, so confirm the location with service information for the exact vehicle rather than relying on a generic diagram.
Choose a direct fit sensor specified for the vehicle and emissions package. Oxygen sensors and air fuel ratio sensors can look similar while operating differently, and the wrong part can create new codes or incorrect readings. Match the connector, wire length, sensor type, and application before opening the package.
Tools and Safety Equipment
For most jobs you will need the correct oxygen sensor socket or suitable wrench, a ratchet and extensions, a torque wrench, safety glasses, gloves, wheel chocks, and properly rated jack stands if the vehicle must be raised. Penetrating oil can help with corroded threads, but keep chemicals away from the sensing tip and electrical connector.
Check the New Sensor Threads Before Installation
Many quality direct fit sensors are supplied with thread compound already applied. Follow the instructions packaged with the replacement. Do not add grease or anti seize compound when the sensor manufacturer says the threads are already prepared. If compound is specifically required, apply only the recommended material to the threads and keep it off the sensor tip.
How to Complete a Lambda Sensor Change at Home
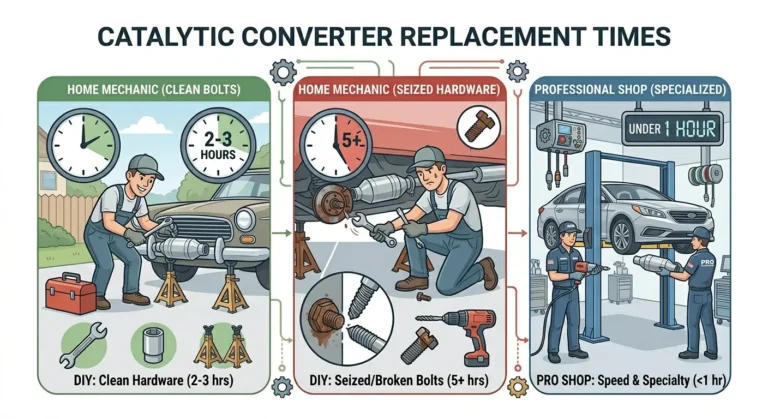
The procedure to replace lambda sensor hardware is usually simple in concept, but access and corrosion determine whether it remains a reasonable DIY job. Work on a cool exhaust system, support the vehicle safely, and stop if the sensor begins to damage the exhaust threads or the connector cannot be released without force.
Step by Step DIY Replacement Procedure
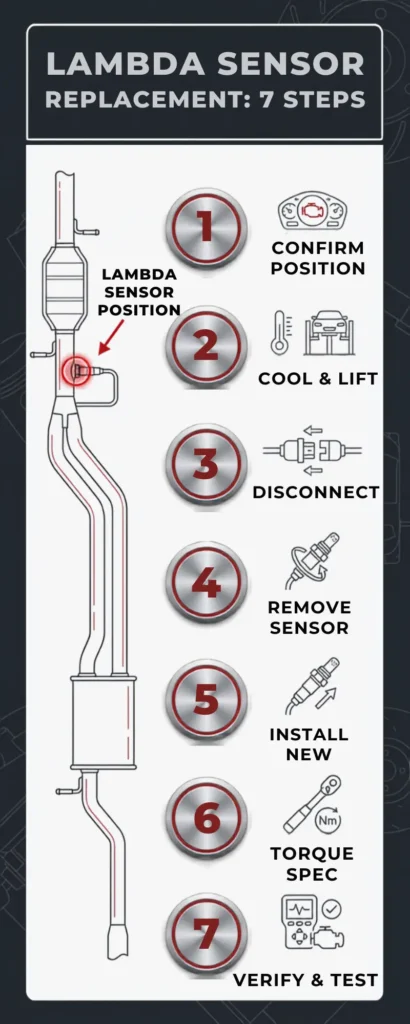
- Confirm the failed sensor position and compare the replacement part with the original application information before touching the exhaust.
- Park on a level surface, switch the ignition off, allow the exhaust to cool, chock the wheels, and raise the vehicle only if needed. Support it with correctly rated jack stands and never rely on a hydraulic jack alone.
- Locate the sensor connector and release it without pulling on the wires. Note how the harness is routed through clips and away from hot exhaust parts.
- Place the oxygen sensor socket over the sensor and loosen it with controlled pressure. If corrosion is severe, use an appropriate penetrating product around the threads and allow it time to work.
- Unscrew the old sensor and inspect the exhaust bung threads. Stop if the threads are damaged or heavily contaminated, because forcing the new sensor can ruin the bung.
- Compare the old and new sensors again, including connector shape, wire length, and thread size. Start the new sensor by hand to prevent cross threading.
- Tighten the new sensor to the vehicle or sensor manufacturer specification with a torque wrench. Do not guess at torque because sensor sizes and applications differ.
- Reconnect the electrical plug, secure the harness in its original clips, lower the vehicle if raised, then clear related diagnostic codes only after the repair is complete.
- Start the engine, check for an exhaust leak around the sensor, and monitor the repair with a scan tool when possible. A road test can confirm that the warning light remains off and the relevant monitor begins operating normally.
A Mechanic Example: When the Code Was Not the Cause
I once had a car arrive after the owner had already installed two oxygen sensors for a persistent lean code. The new sensors were working, but the engine still idled poorly and the code returned within a short drive. Smoke testing exposed a split vacuum hose behind the intake, which was pulling unmetered air into the engine. After the hose was replaced, fuel trim returned to normal and the sensors reported correctly. That job is a useful reminder that a code can describe what the sensor sees without proving the sensor caused the problem.
What to Check After the New Sensor Is Installed
After a lambda sensor change, do not judge success only by whether the check engine light is off immediately. Clear codes with a scan tool if appropriate, then verify that the sensor or air fuel ratio signal responds normally and that no heater or circuit code returns. Some emissions monitors need normal driving conditions before they run again.
If the same code returns, inspect the original diagnostic path rather than installing another sensor. Wiring damage, connector problems, exhaust leaks, vacuum leaks, fuel delivery faults, and an inefficient catalytic converter can all create readings that point back toward the oxygen sensor circuit.
Common Installation Mistakes to Avoid
Do not twist the wiring while tightening the sensor, do not allow the harness to rest on the exhaust, and do not contaminate the sensing end with grease or chemicals. Make sure the connector fully locks. If the old sensor required excessive force to remove, inspect the threads before installing the replacement.
When a Professional Repair Is the Better Choice
Professional help makes sense when access requires major component removal, the sensor is seized, exhaust threads are damaged, diagnostic results are unclear, or the vehicle uses a sensor type you cannot test confidently. Paying for diagnosis is often cheaper than replacing multiple sensors that were responding correctly to another engine problem.
James Mitchell
Senior Automotive Writer
12+ years writing clear, practical guides on vehicle maintenance and emissions systems.
Frequently Asked Questions
Conclusion:
A successful lambda sensor change starts with diagnosis, not with parts swapping. Confirm the sensor position, use the correct direct fit replacement, work only on a cool and safely supported vehicle, protect the connector and threads, and tighten the new sensor to the specified torque. If the same code returns after replacement, stop replacing parts and test the surrounding fuel, wiring, intake, and exhaust systems before spending more money.